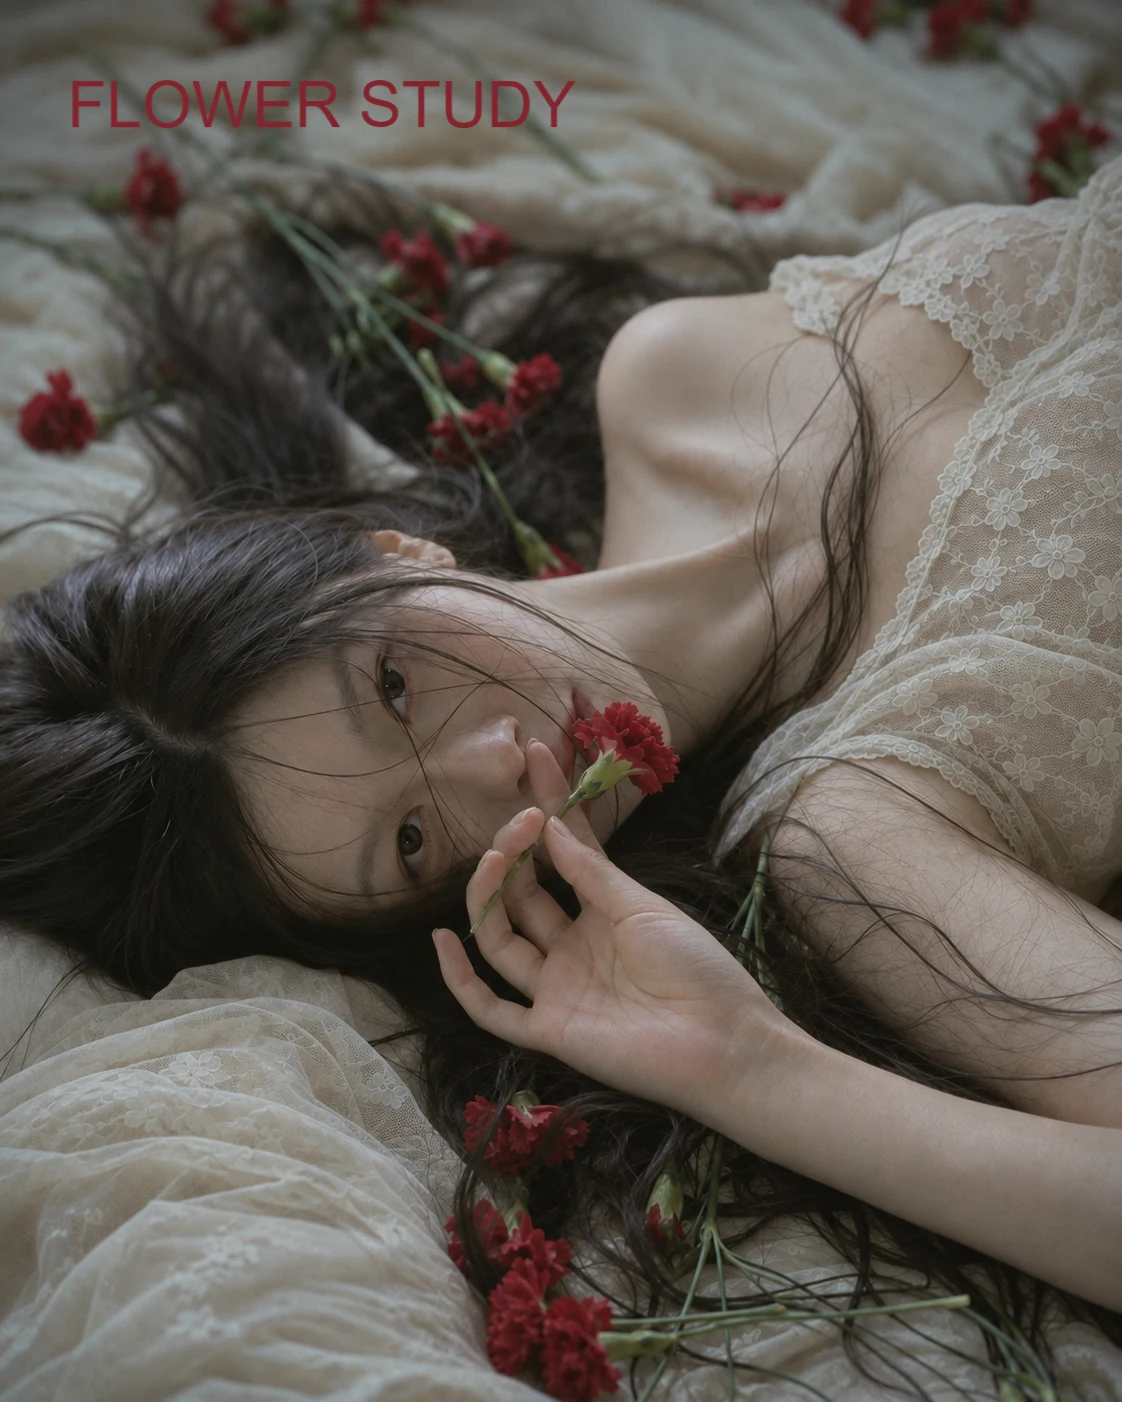
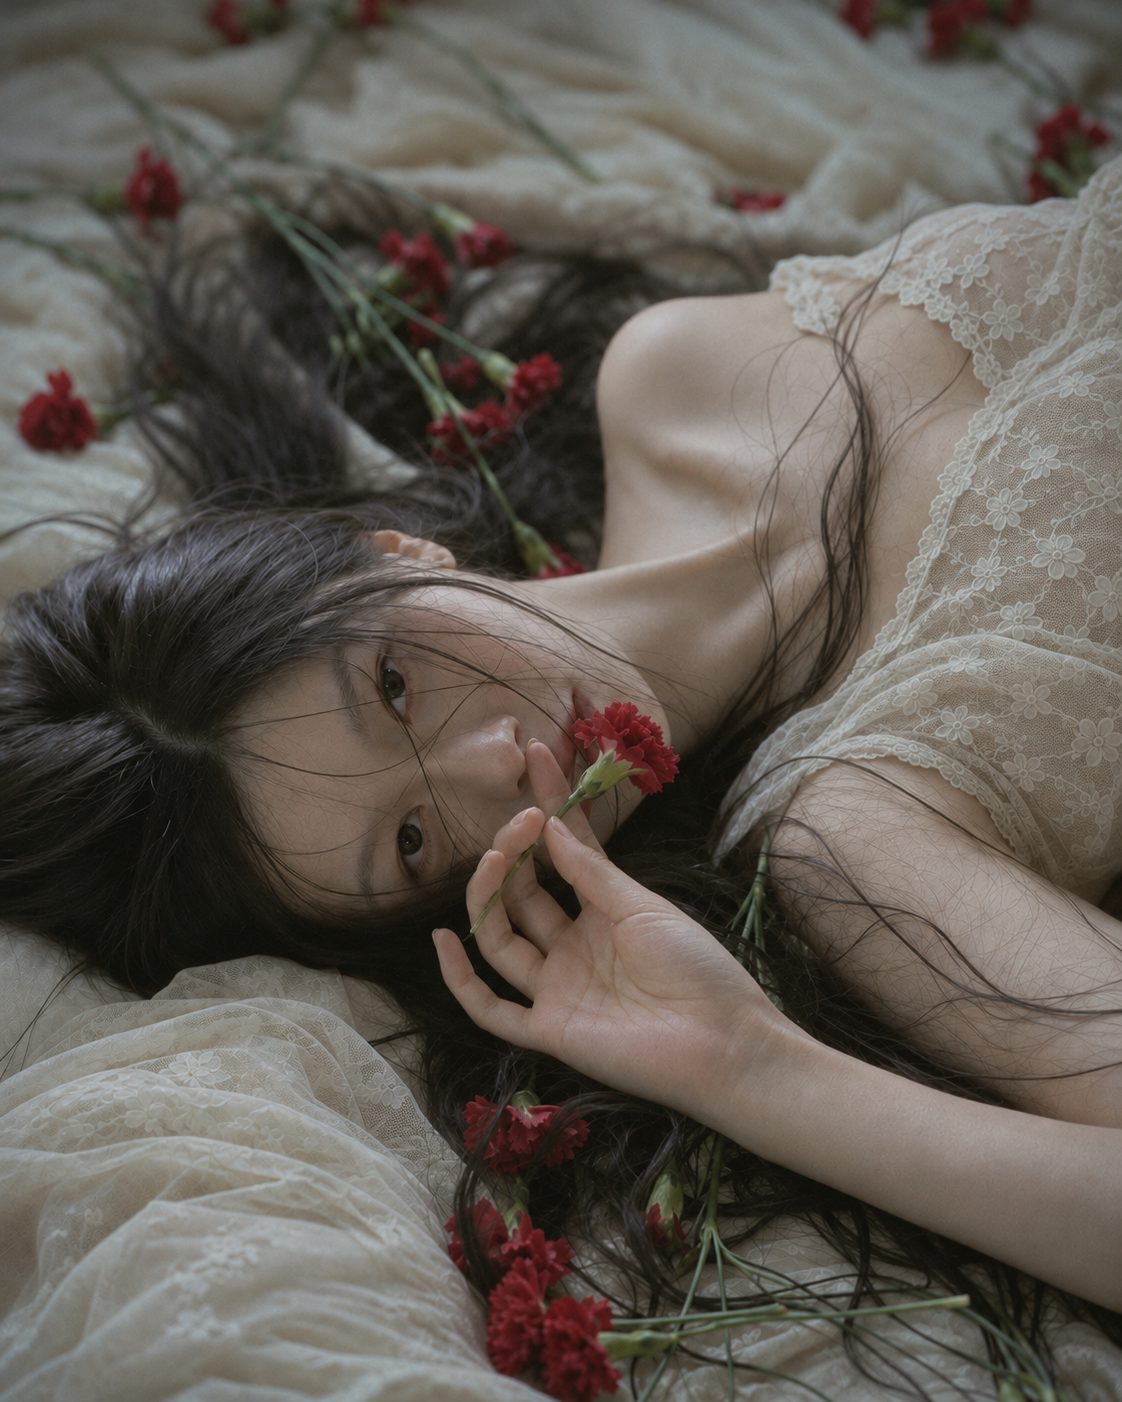
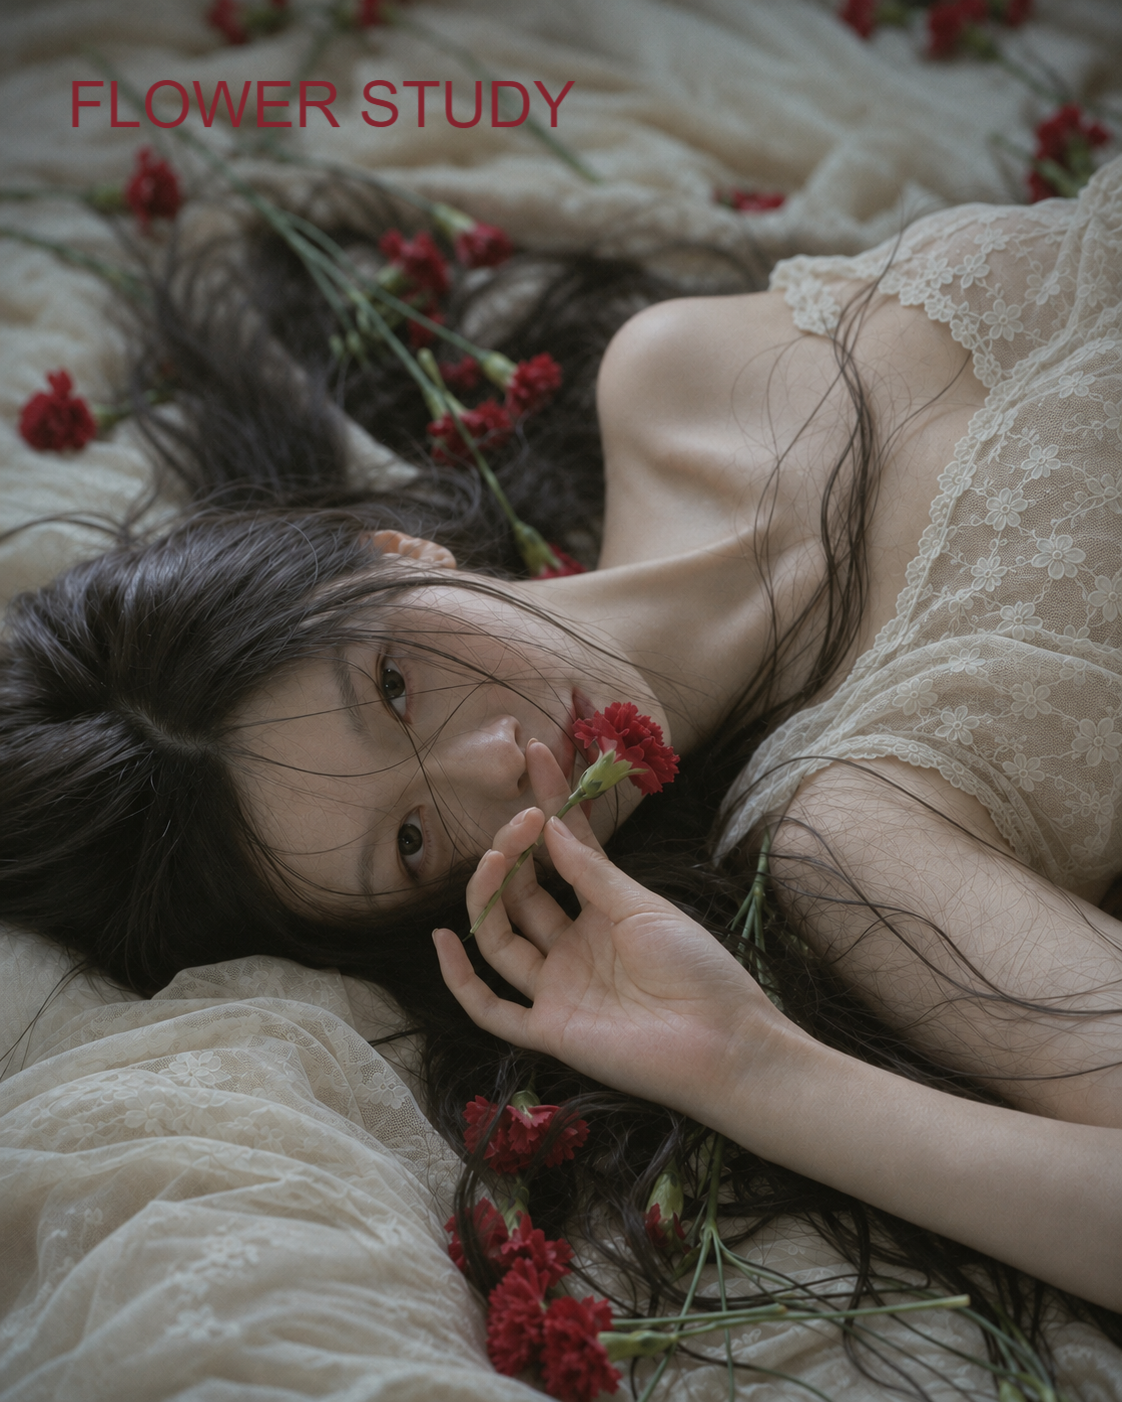
What you will make
Add FLOWER STUDY above a portrait, keep the photo and text on separate layers, save a PSD, and reopen it to change only the title. The goal is to complete one small editing workflow, rather than memorize every tool.
Use the practice portrait above or a photo of your own. The PSD and finished PNG are examples for checking the result; start the lesson with the portrait PNG.
Watch on YouTube ↗ · The article follows the same steps as the video.
1. Open the photo and fit it on screen
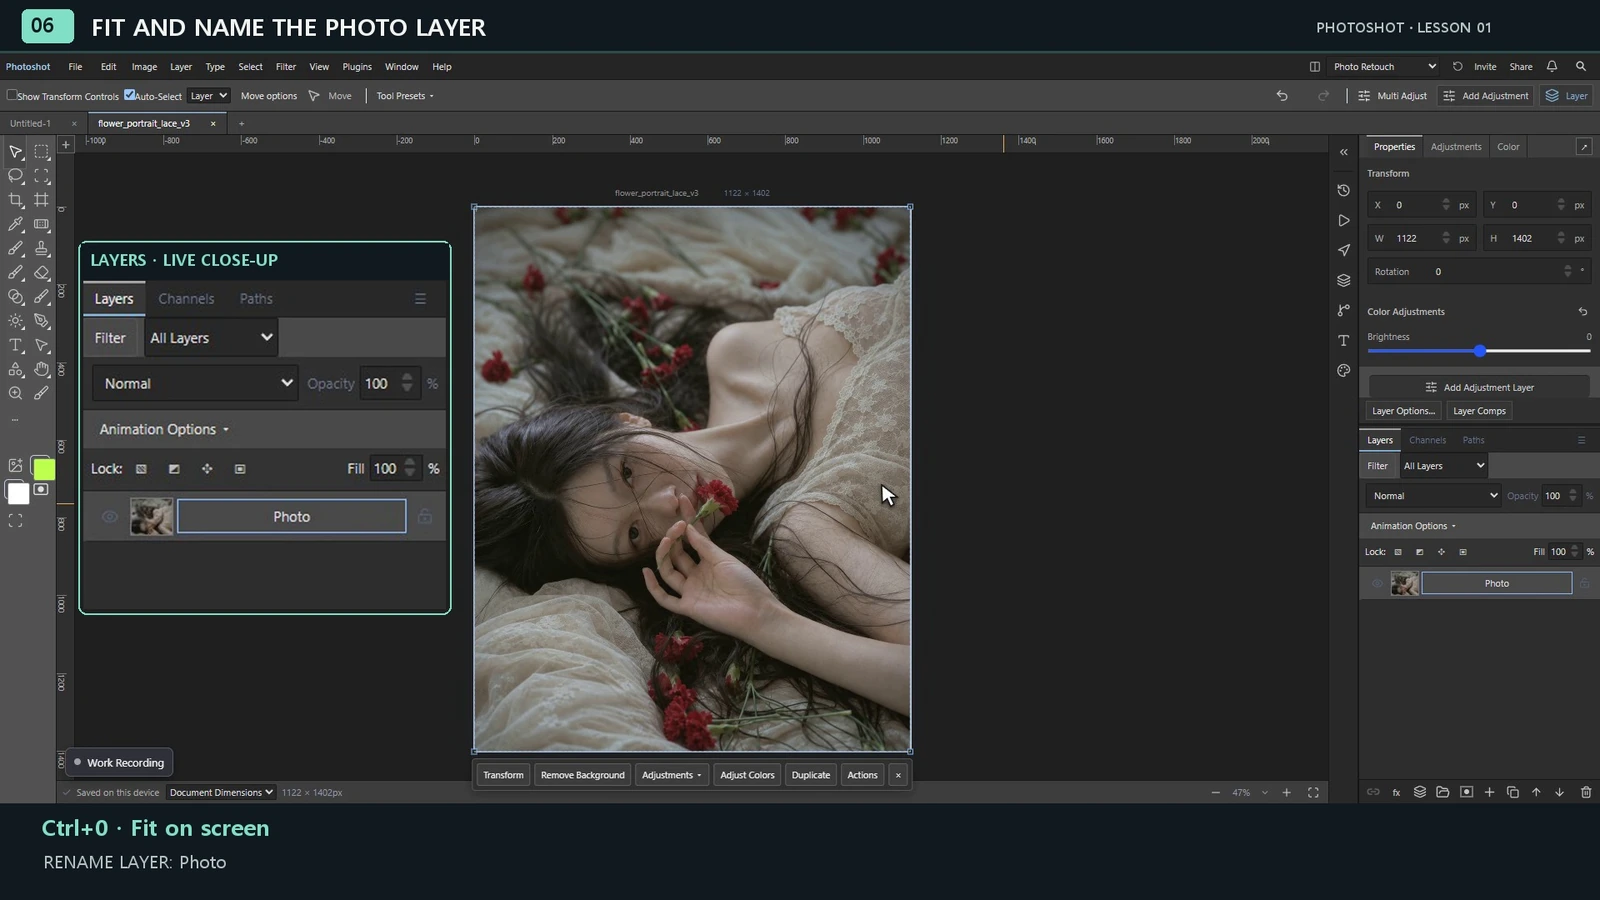
Open the Photoshot editor and choose File → Open…. Select flower_portrait_lace_v3.png. When it appears, press Ctrl + 0 to fit the whole photo on screen.
In the Layers panel on the right, double-click the image layer’s name and rename it Photo. This identifies the image layer without changing its appearance.
2. Add an editable title
Select the Type tool, T. Click once on the light fabric near the top of the image and type FLOWER STUDY. Keep the title clear of the face.
Press Ctrl + Enter to finish typing. A separate text layer appears in Layers. Rename it Title, so the photo and text are easy to distinguish.
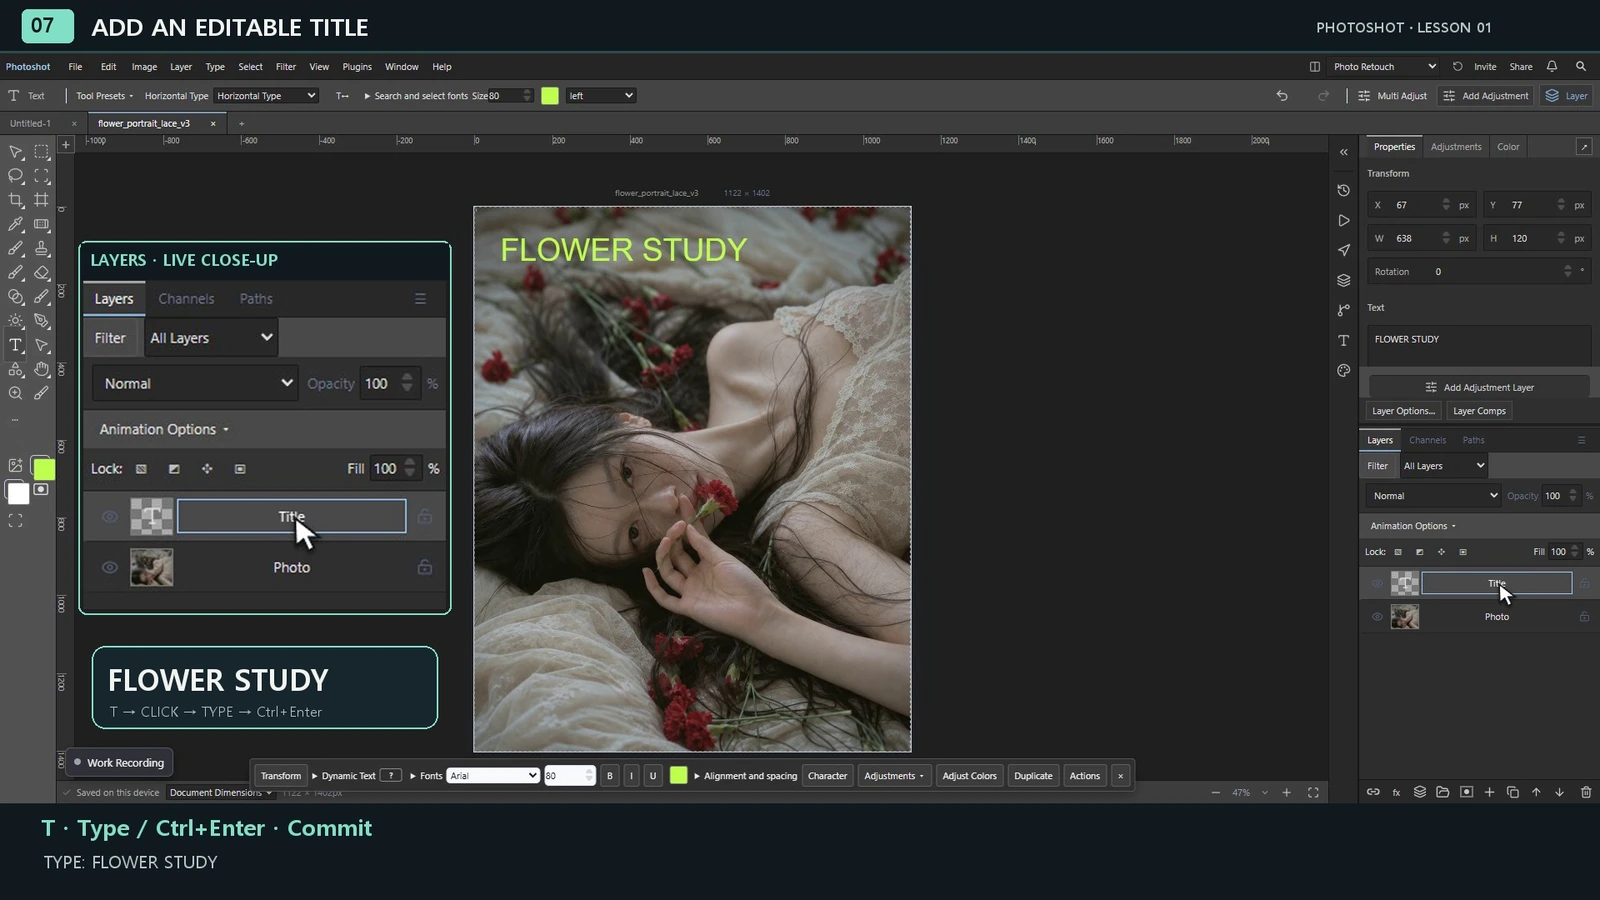
3. Set the size, color and visibility
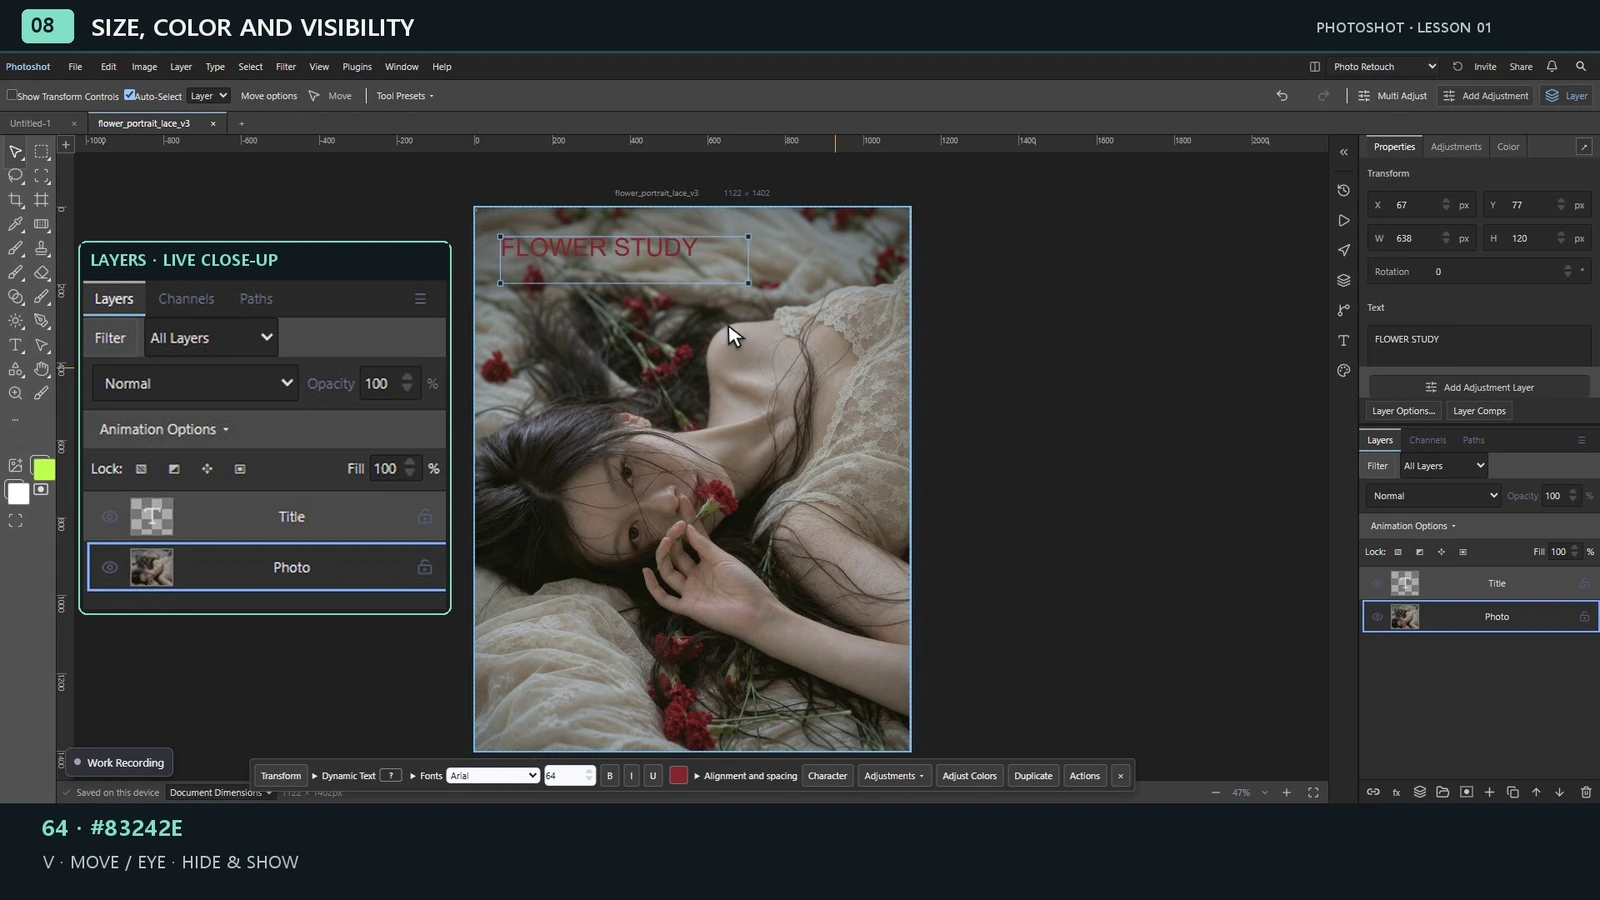
With Title selected, set the font size to 64 and the color to dark red, #83242E. You can choose another size or color when using a different photo.
Finish text editing and select the Move tool, V, to position the title. Make sure Title is selected; selecting Photo moves the image instead.
Click the eye beside Title in Layers. Only the text should disappear. Click it again to bring the title back. This confirms that the photo and text are separate layers.
4. Save an editable PSD
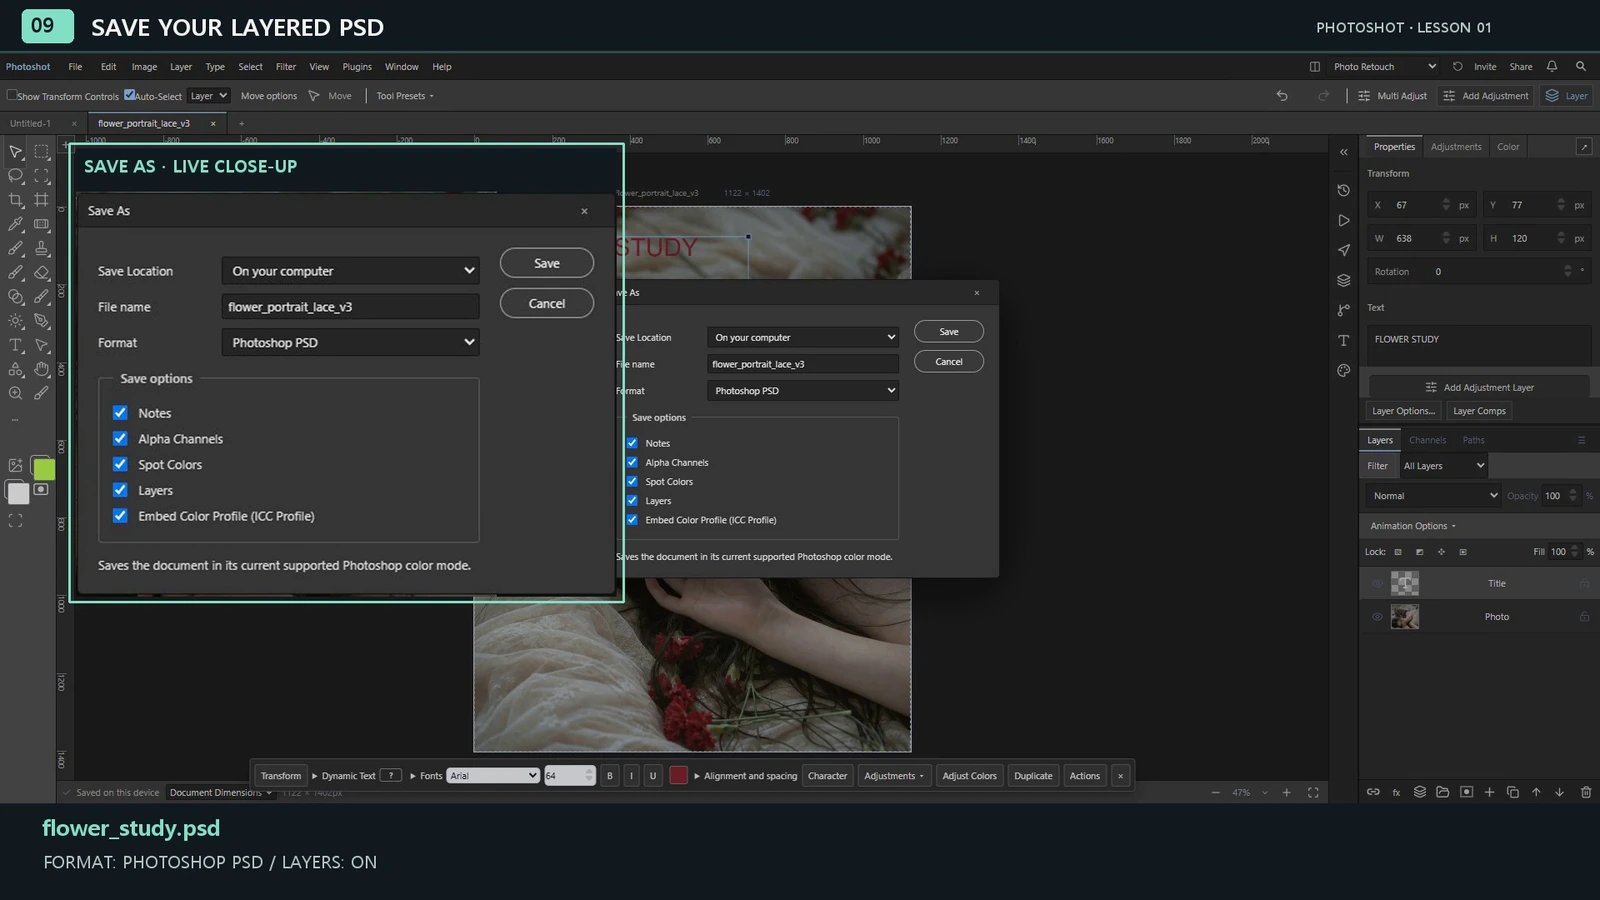
With the title visible, choose File → Save As…. Select Photoshop PSD as the format, enter flower_study, and make sure Layers is checked. Click Save.
Find flower_study.psd in your browser’s download folder or the folder you chose. This is the working file you will reopen to edit the title.
Select the PSD format in the Save As dialog. Simply changing the extension of an ordinary image does not create a layered PSD.
5. Save a PNG for sharing
Choose File → Save As… again, select PNG and use the same name, flower_study. If PNG Options appears, confirm it with OK.
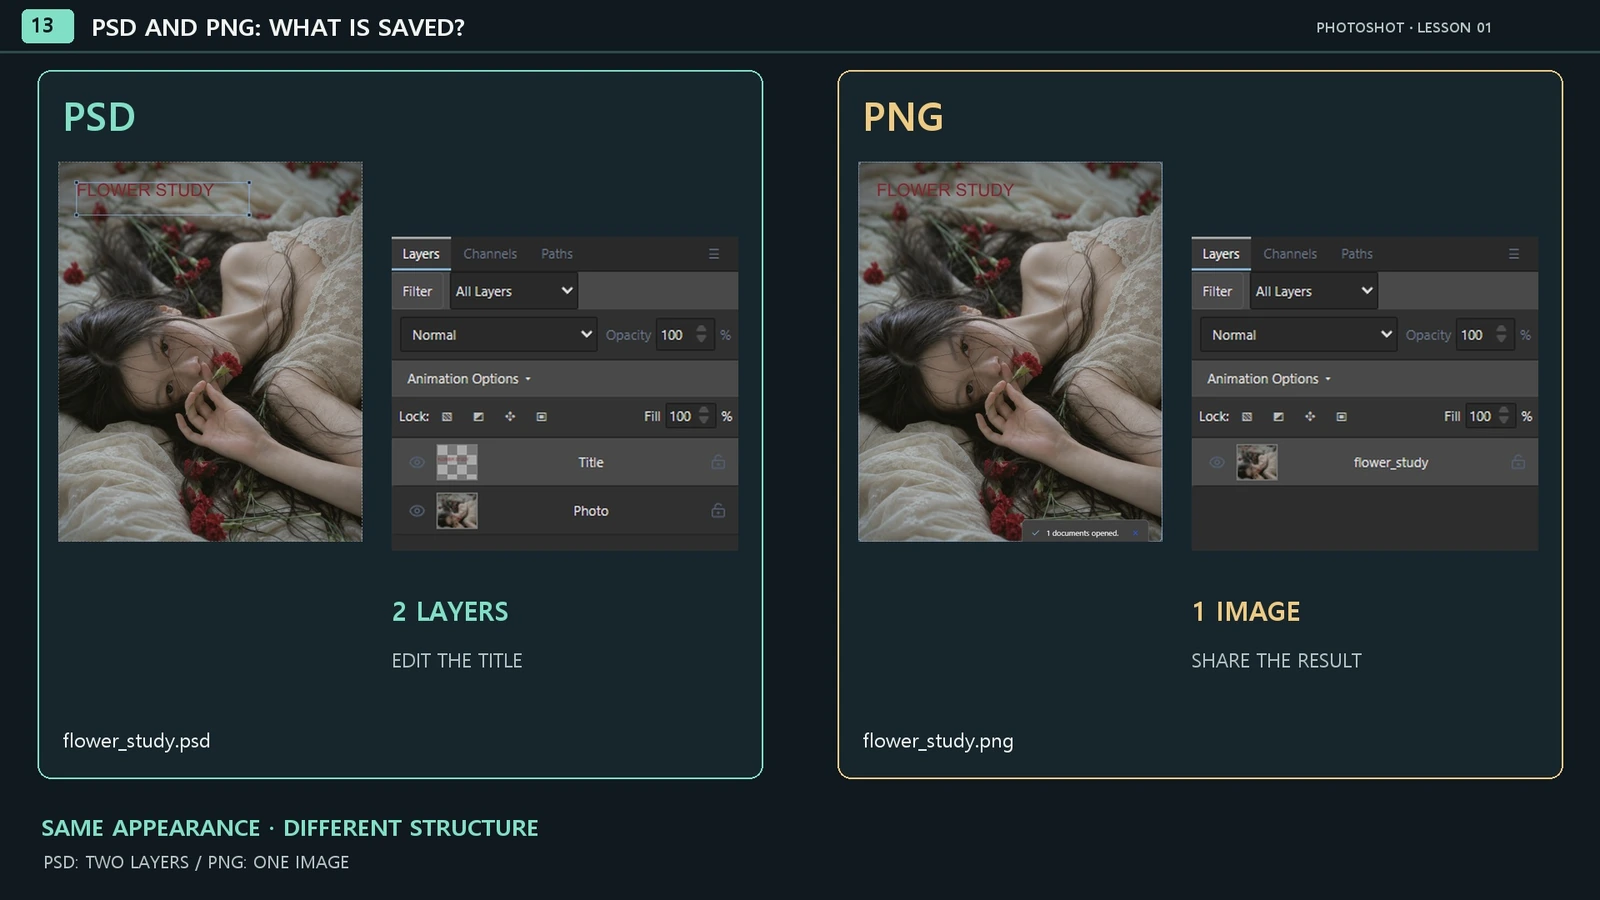
The PNG stores the finished photo and title as one image. You can edit its pixels later, but the original Photo and Title separation from this exercise is not preserved. Use the PSD when you want to edit just the title.
| File | What this exercise keeps | When to use it |
|---|---|---|
| flower_study.psd | Separate Photo and Title layers | Continue editing or change the title |
| flower_study.png | One combined image | Show or share the finished result |
6. Reopen the PSD and change the title
After saving the PSD, close the current document. Choose File → Open… and select flower_study.psd. Check the extension so you do not accidentally open the original portrait PNG.
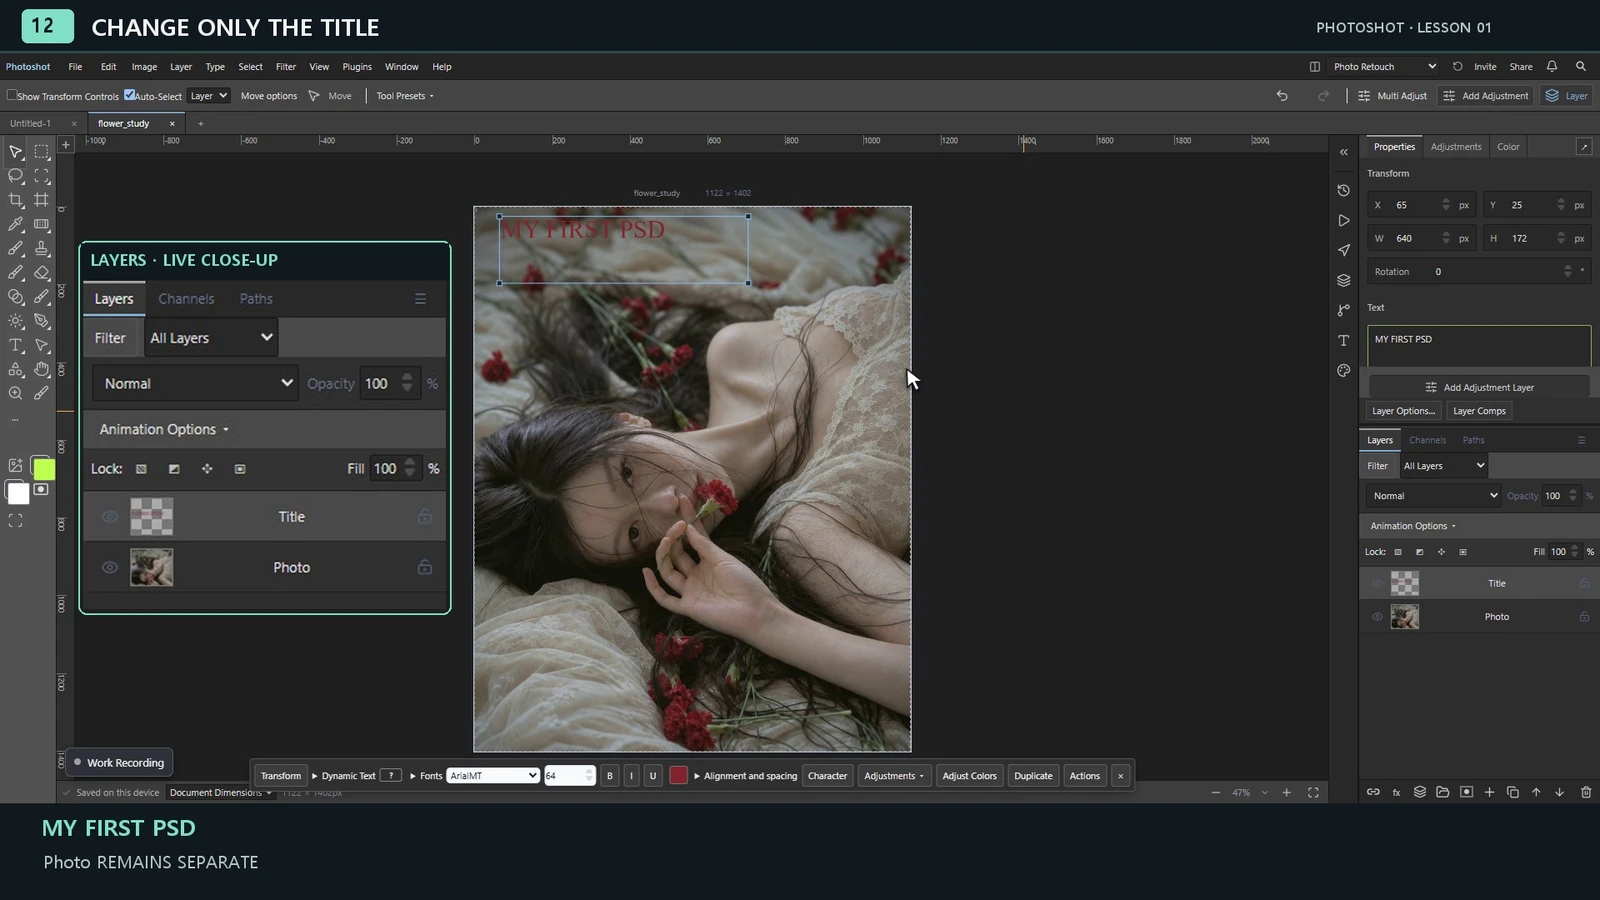
Confirm that Photo and Title are still separate in Layers. If an import report appears, read and close it before continuing.
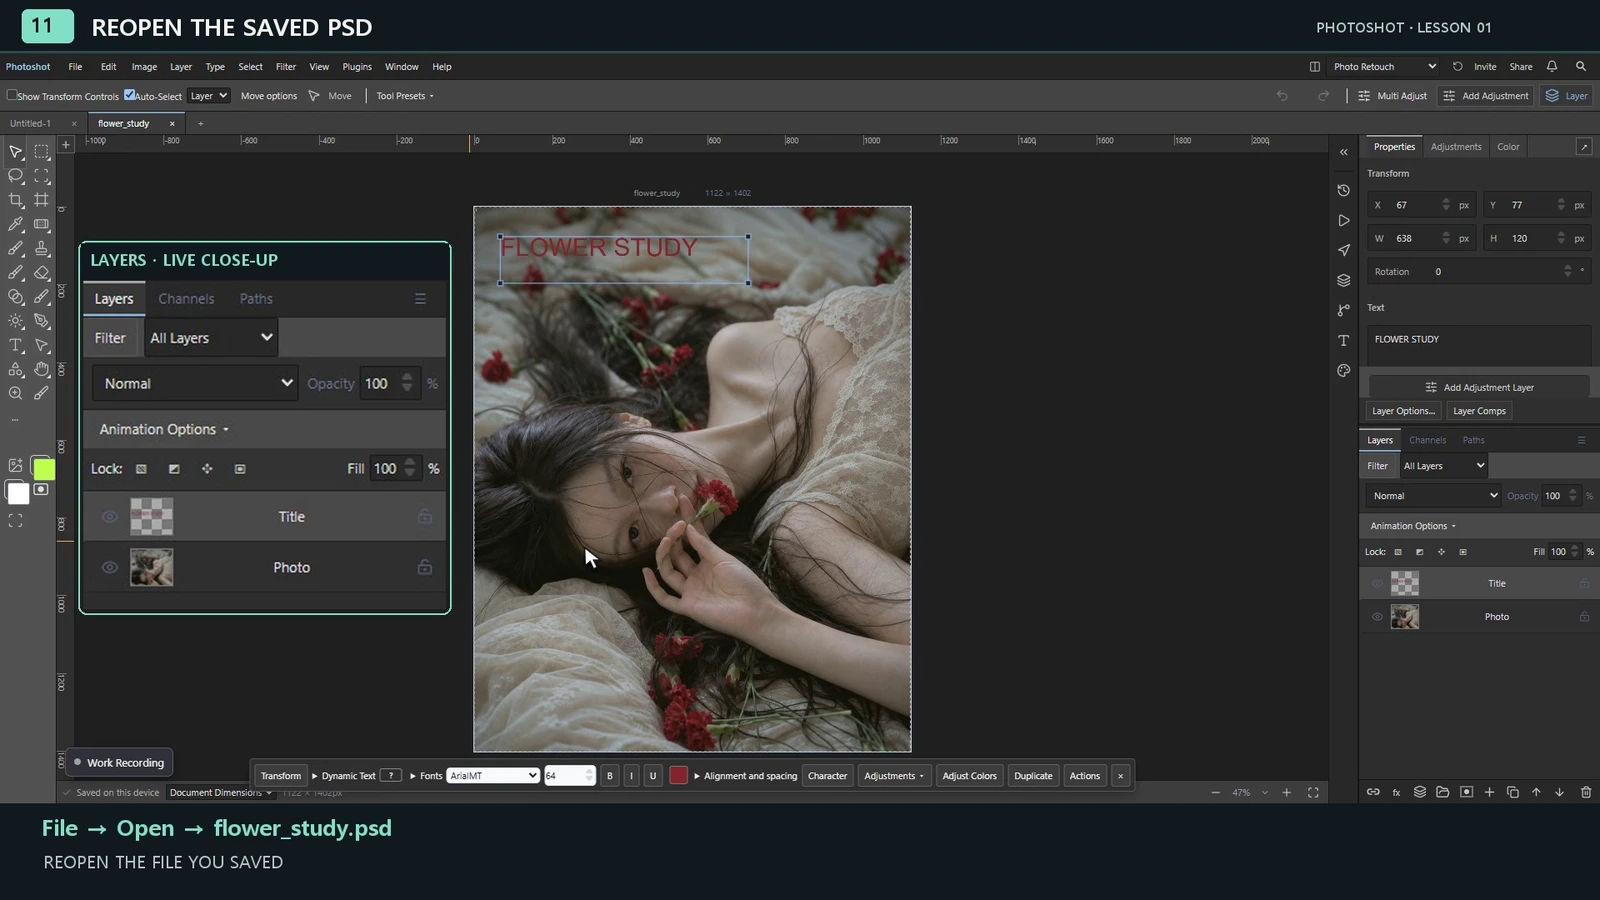
Select Title. In the Text field of the Properties panel, change the title to MY FIRST PSD. The photo stays in place while only the wording changes.
To preserve the supplied example, save your modified version under a different PSD filename. Try the same workflow once more with your own photo and title.
7. Compare the PNG and finish
Open flower_study.png as well. The saved result looks the same, but Layers contains one image. Compare that with the separate Photo and Title layers in the PSD.
You have completed the lesson when you can:
- Add a title as a separate text layer.
- Save both an editable PSD and a finished PNG.
- Reopen the PSD and edit only the title.
Keep the PSD for continuing your work and use the PNG for sharing. Check that you can identify both filenames and the folder where you saved them.
If you get stuck
The photo moves instead of the title.
Select Title in Layers before using the Move tool. Selecting Photo moves the image.
Pressing V types a letter.
Press Ctrl+Enter to finish text editing, then press V to choose Move.
The file reopens with only one layer.
Check whether you opened the PNG or PSD. When saving a PSD, select Photoshop PSD and include Layers. Open the supplied example PSD to compare its structure.
Do I have to use this portrait?
No. It helps you match the video, but the same steps work with your own photo.
Keep the files for another try
The portrait, editable PSD and finished PNG are available together or individually above.
Back to downloads ↑